Announcement
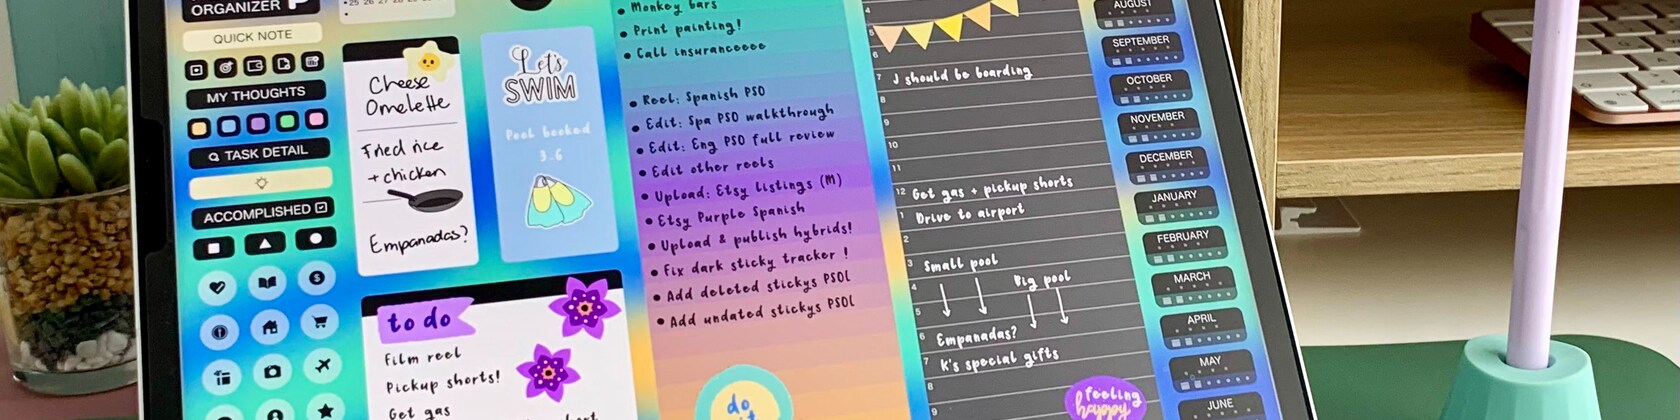
Welcome! Here you will find tools & supplies to make your organization life more productive and beautiful! Make sure to stop by my channel YouTube.com/PrintStick for helpful tips & tutorials - If you have any questions, just send me a convo!
Join our FB community for tips & support https://www.facebook.com/groups/PlanningDigitally/
¡En español! https://www.facebook.com/groups/298765603802499/
-------------------------------------
For a wider product selection and special bundles visit www.PrintStick.Shop
Happy planning
Isa
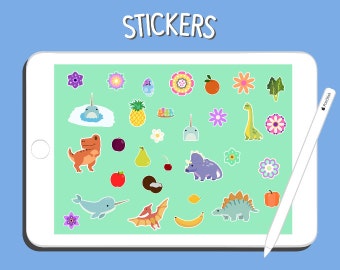
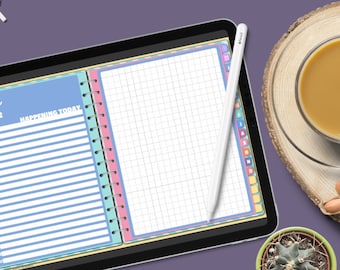
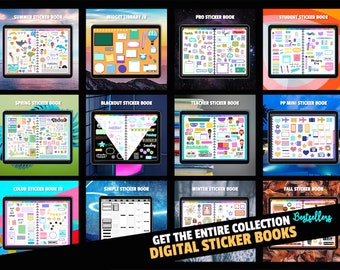
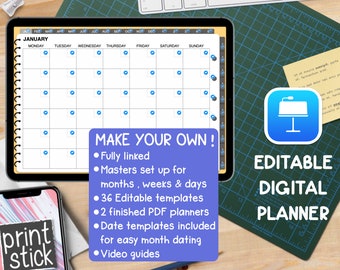
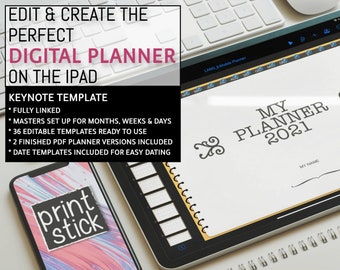
Featured items
Items


All Items


Reviews
-

-

Kristina Ellis on Jan 27, 2024
5 out of 5 starsSimple to use (once I figured out how to use Goodnotes) super cute too!
-

-

-
-
Sign in with Apple user on Jan 8, 2024
5 out of 5 starsAll links are working and planner is exactly what I was looking for
-

-

-
Kit on Nov 27, 2023
5 out of 5 starsLove these stickers! Colorful, positive way to help me stay organized throughout my day!
-


Shop policies
Accepted payment methods
Returns & exchanges
Cancellations
Cancellations: not accepted
Please contact the seller if you have any problems with your order.
More information
Frequently asked questions
Do you offer printing service?
Yes! We now offer printing and cutting service. Find this option under 'Add-On' section.
*If you can't find the add-on listed on the shop, it means that the service is temporarily unavailable. Please send us a convo if you have any questions.
How To Use Cut Files (Black PNGs) - Steps 1, 2 & 3
The black .png files included in your download are for tracing your .jpg files on Silhouette Studio; you need to import both types of files.
Step 1- Import the .png file* into Silhouette Studio (the black shapes).
Step 2- Click on the image to select it and change its size to 8.5” wide, making sure that the 'Lock Aspect' box is checked. Then center the image in the middle of the page.
Step 3- Go to your tracing tool and click on 'Select Trace Area'. Then make a big rectangle selecting all the black shapes you just loaded. Uncheck the 'High Pass Filter' box and click on 'Trace Outer Edge'. You will now have cut lines and you may delete the black image (click on any black shape and hit 'Delete' on your keyboard).
How To Use Cut Files (Black PNGs) - Step 4
Step 4- Import the .jpg file* onto your library, and place it on your workspace, over the cut lines you just created. Change the size of the image the same way you did before, making sure that the 'Lock Aspect' box is checked and enter 8.5" wide. Center image and send it to the background (Object-Arrange-Send to Back)
*If the .png and .jpg files come with a number, make sure that they match when working with them in your Silhouette Studio workspace (Ex: import: BHPKit-01.jpg and BHPKitCUT-01.png).
You should now be able to see your cut lines over the image. Now just send to printer, adjust cut settings and start cutting!